Screenshots have turned out to be so omnipresent these days that we don’t really think about them too any longer. However consistently we use them to appear, clarify, and communicate. Regardless of whether it’s sending a picture of a software bug to user support, a very instant how-to GIF to someone or a joke a friend or family member, screen captures causes us to enhance and liven up our day by day correspondence patterns.
How to Use Snipping Tool for Mac?
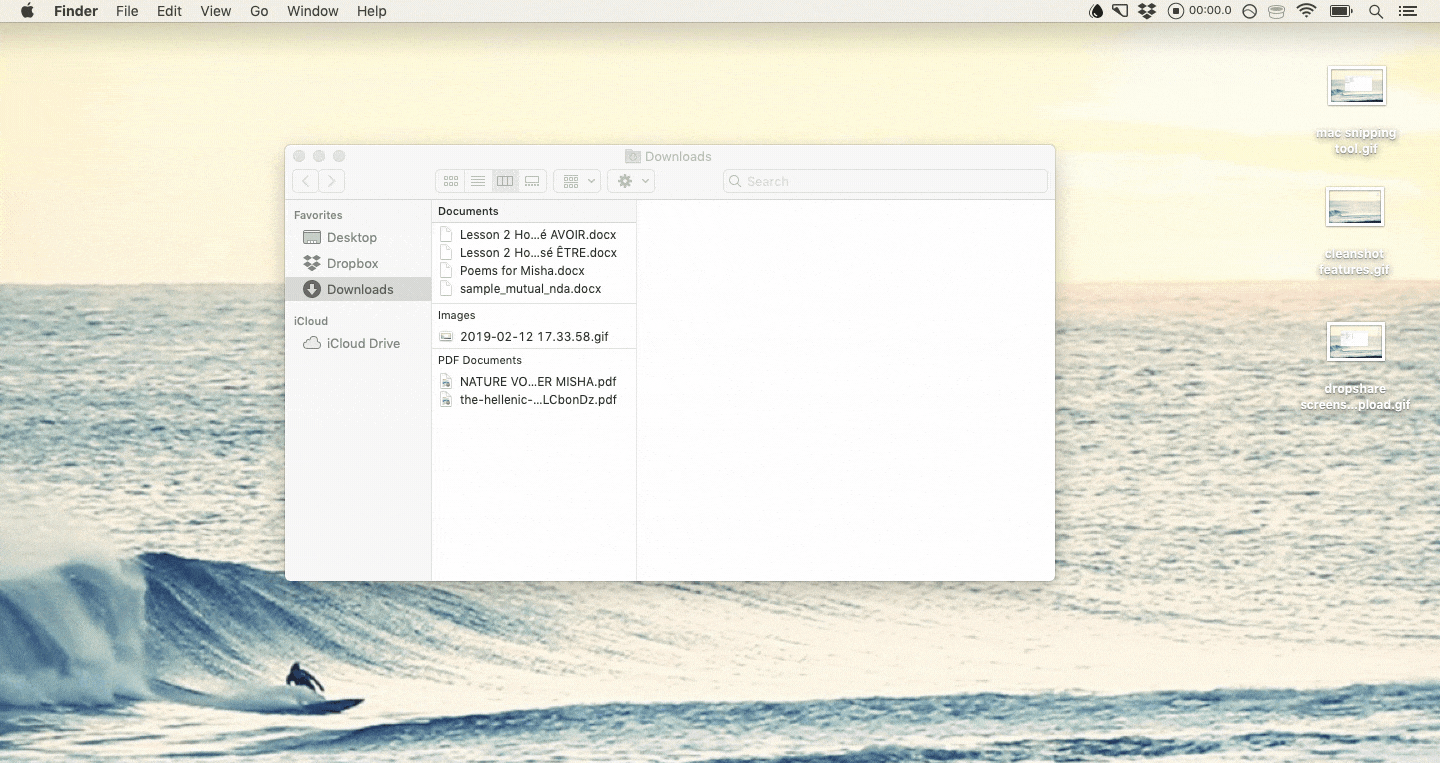
Normally, for taking as well as editing your screen captures, Windows PC has its generally regarded Snipping Tool. However, if you feel that you’ve just exchanged your PC for Mac, eventually you’re ensured to ponder where and what is Snipping Tool for Mac.
Rest guaranteed you would not be left without taking screenshots until the end of time. When it comes to Mac, a snipping tool exists. Besides, much the same as on Windows, it’s incorporated appropriate with the operating system— which is the response to the regular inquiry of where to download it for Mac.
Likewise, there are a lot of third-party snipping tools out there that significantly develop the usefulness of the pre-installed alternative.
Which one is the most known Snipping tool for Mac?
Mac OS snipping device is so heated into the operating system that it has no name. Furthermore, there’s not only one snipping tool on Mac — there are many.
We’ll be running a comparison below about the default snipping screenshot tool that Mac offers to its Windows alternative, and present to you the third-party tools such as CleanShot, Dropshare, and Capto also.
How to utilize the Snipping tool on macOS?
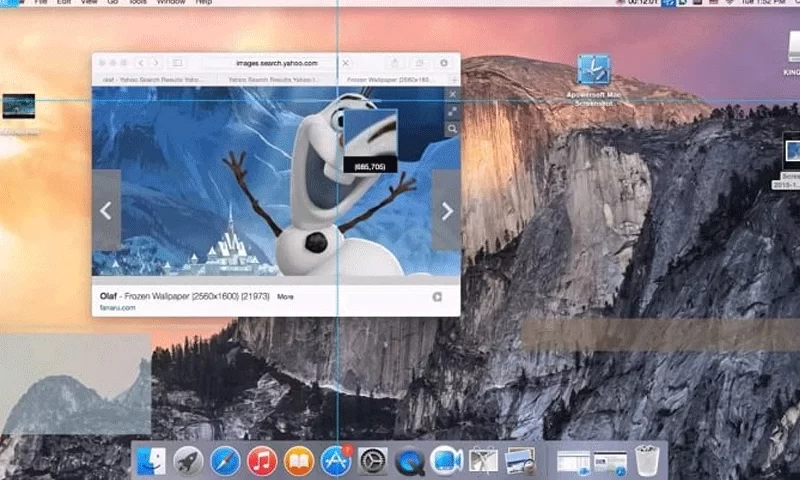
What do you think is the shortcut key for the Snipping Tool? Well, a quick answer to “How you can snip on Mac?” is to tap ⇧⌘5. The shortcut shows up a menu located in the lower end of the screen having lots of options to select from.
This is a new menu to Mac, as it previously showed up in macOS Mojave in 2018. Prior to at that point, users of Mac were restricted to either utilizing ⇧⌘3 for taking a screenshot of the entire screen or ⇧⌘4 to choose an area (these shortcuts still operate the very same way). In case you’re utilizing one of the versions of macOS before Mojave, ensure updating to the most recent macOS available to utilize the snipping tool on Mac.
So the Mac OS snipping tool menu has the following options:
- Capture Entire Screen,
- Capture Selected Window,
- Caption Selected Portion (area),
- Record Entire Screen,
- Record Selected Portion (area).
Apart from that, there is another Options dropdown, where you are able to change the location for saving the final image, set a timer, and select if you want to show the mouse pointer.
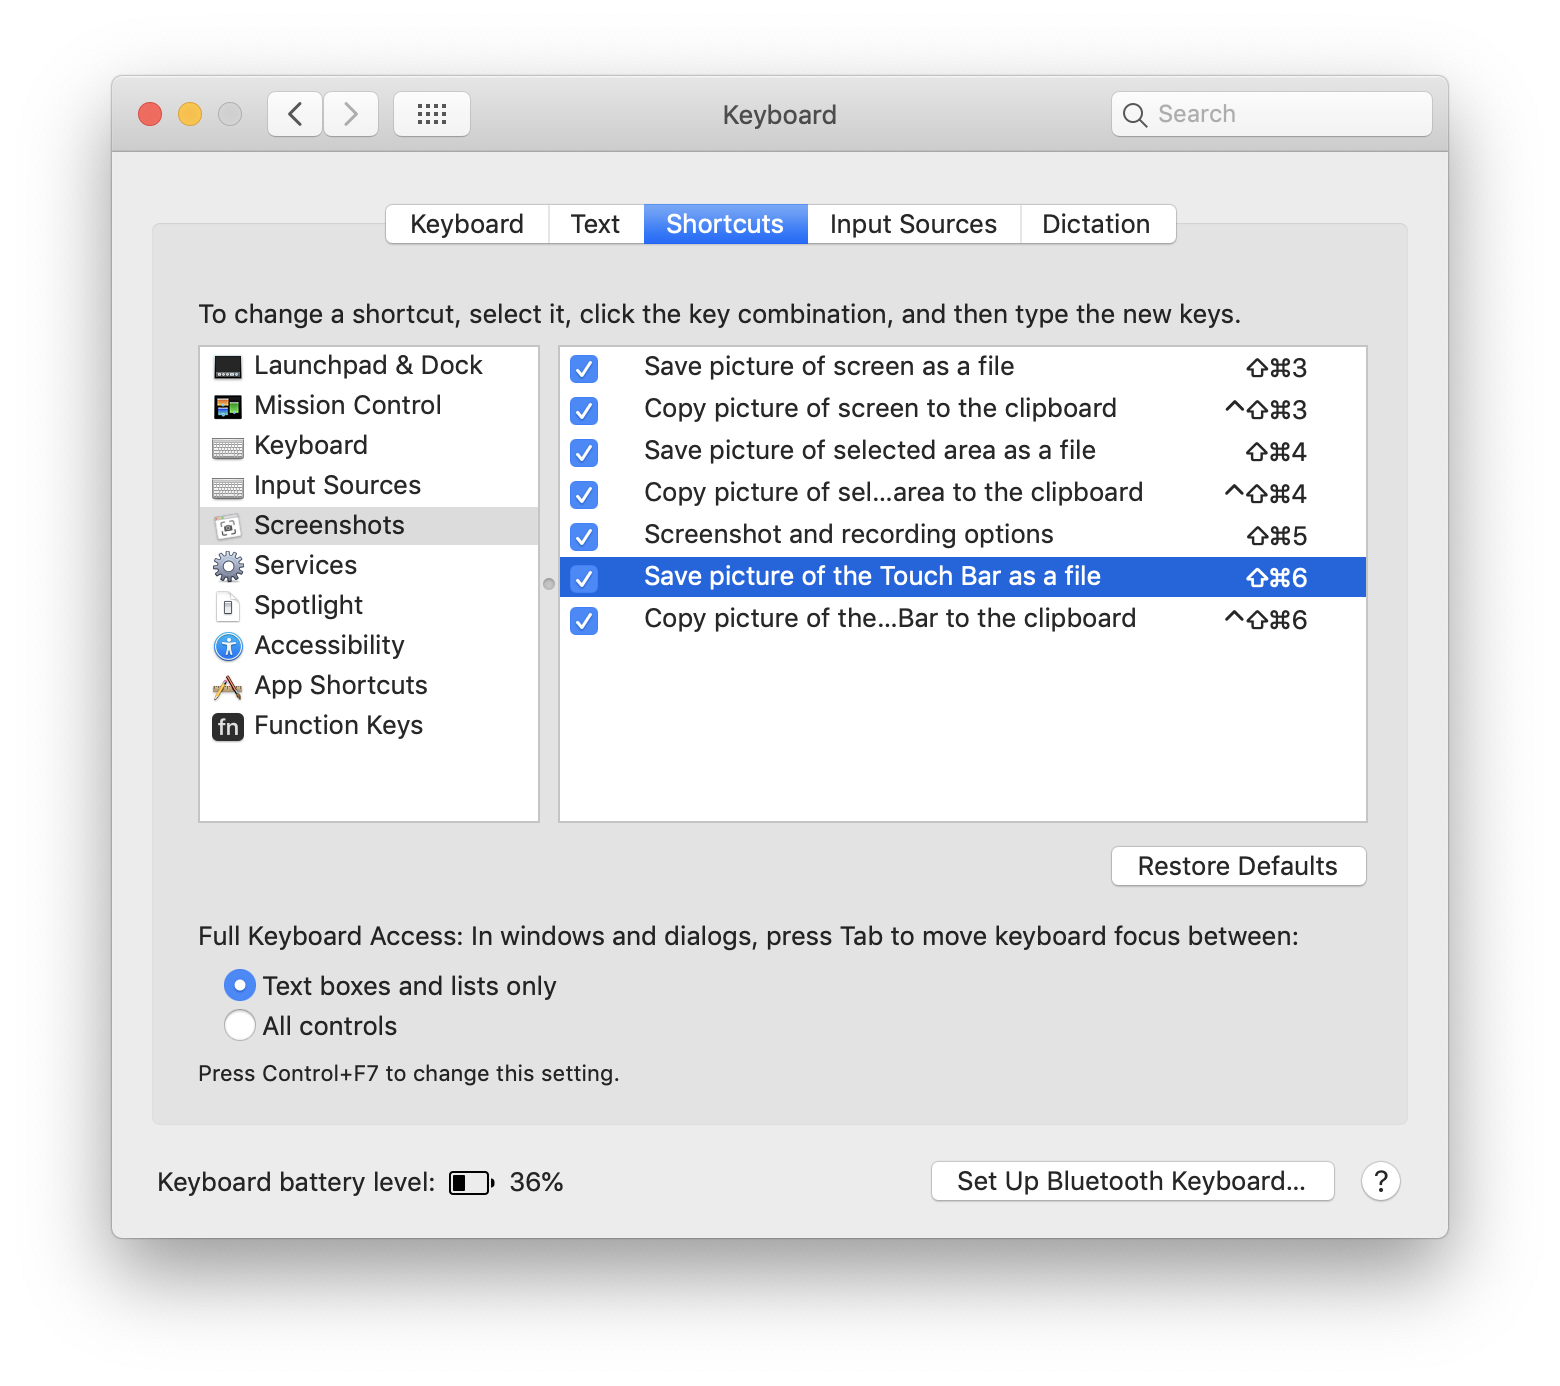
BTW, did you have any idea about your ability to use Mac Snipping tool in order to take screenshots of the Touch Bar?
- Press ⇧⌘6 for saving a screenshot of Touch Bar as a file on the desktop
- Press ⌃⇧⌘6 for copying what you are able to see on Touch Bar to the clipboard
You can also customize the keyboard shortcuts and for that go to System Preferences> Keyboard > Shortcuts > Screen Shots.
Right away you will be able to notice how relevant the snipping tool’s functionality on Mac is in order to its Windows counterpart. We have run a comparison on screenshot capabilities below:
- Fullscreen: Mac & Windows
- Single app window: Mac & Windows
- Area: Mac & Windows
- Freeform: Windows only
- Video: Mac only
- Delay: 1 to 5 seconds on Windows and 5 to 10 seconds on Mac
- Editing: limited on Windows, a full toolkit on Mac
Getting into details, you may see that the snipping tool on Mac doesn’t take into consideration a freeform capture. In like manner, its Windows option can’t record video and just offers restricted annotation choices. So normally, this default screenshot grabber on Mac will become your go-to much of the time.
Also, if you require capturing screenshots by the freehand selection, you’re only anxious to utilize something all the more dominant, third-party Mac apps have got a ton of options to offer.
Capturing Screenshot Easily with Snipping Tool
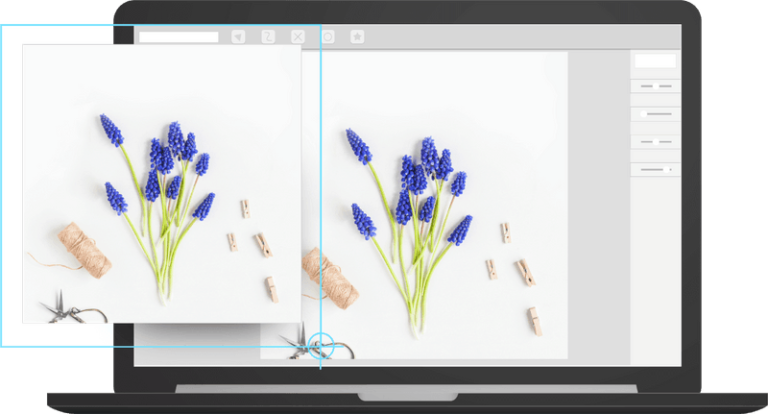
While Mac’s snipping tool can take normal screenshots by default, a professional utility such as CleanShot easily increases its functionality. It permits you for hiding all desktop icons in order to capture the screen without any distractions, preview screenshots prior to saving them, change the wallpaper, copy the final image or video into the clipboard, annotate pictures easily, and so on.
In order to give yourself a good example of the capability of CleanShot, opt for Capture Area in the app itself (notice how desktop icons go out of vision), drag the mouse to take a screenshot, and then click the pen icon in order to edit the final one before you save it.
To always capture the screen with no desktop icons blocking your way, set and utilize custom hotkeys in the CleanShot app’s preferences menu.
Share Screenshots with Other People Instantly
Dissimilar to Mac’s default snipping tool, we have got a tool which approaches the issue of the screenshot as a sharing issue above all else. Dropshare is a Mac snipping tool option that enables you to pick between capturing a particular zone, capturing along with editing, and recording a part or full screen. After you are done with it, all URLs would be spared naturally and prepared to impart to your group or team.
Each time you take a screenshot, Dropshare swiftly transfers it to the cloud and gives you a short connect to impart to other people. It’s likewise powerful in its transferring alternatives, offering you a decision between 10 GB of its own stockpiling or any of the cloud suppliers you as of now use, for example, Dropbox, Google Drive, Rackspace, Amazon S3, and so on.
Moreover, in the event that you need to make 100% freehand selections or take website page’s screenshot of the required length, you have to join Dropshare with another splendid utility.
How you can Capture Freehand Region on a Mac?
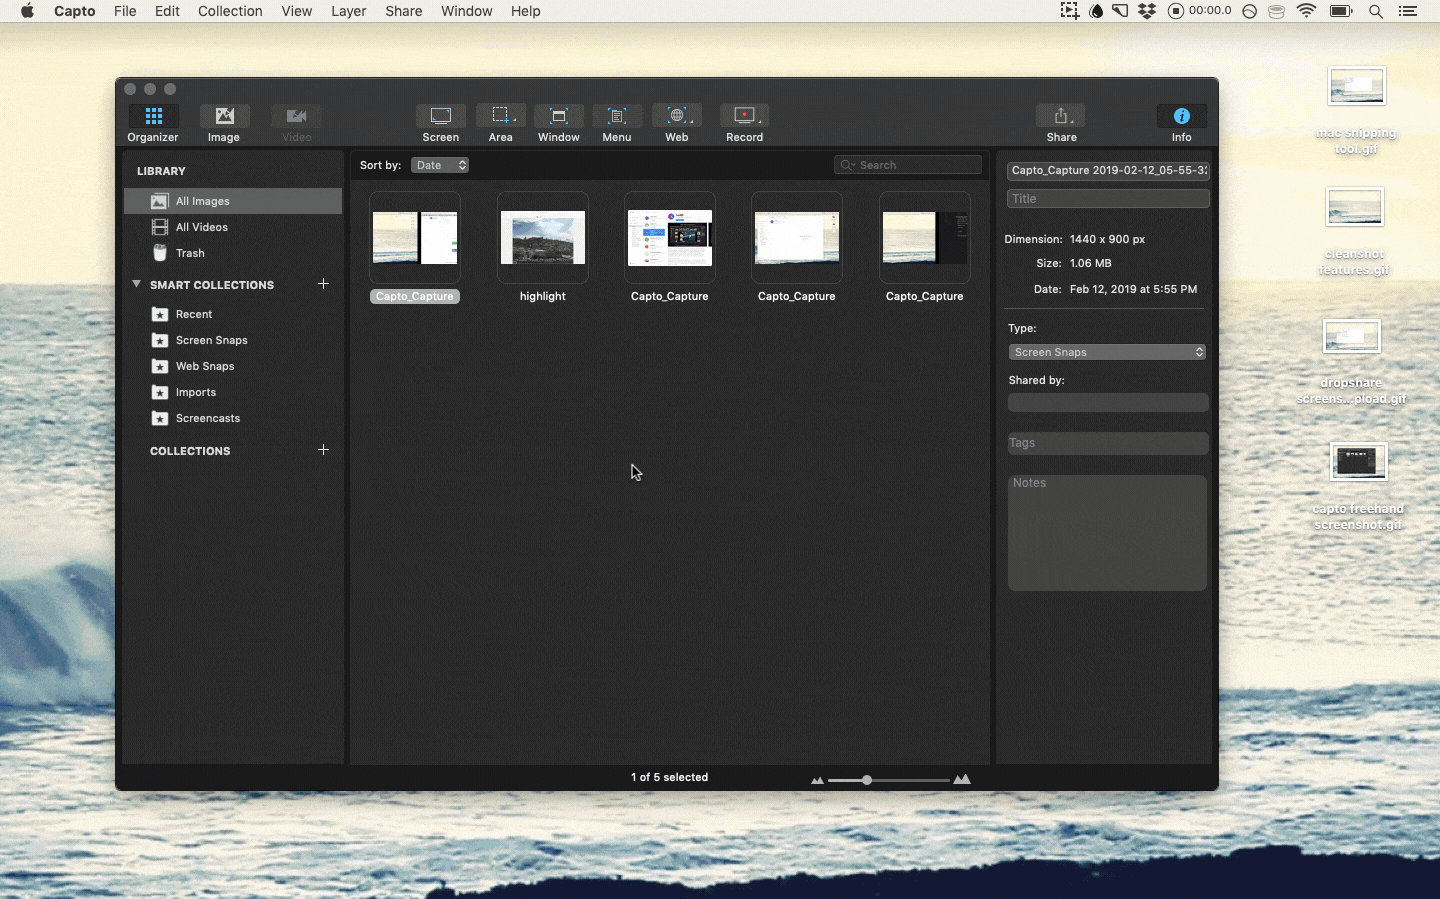
Compared to various tools discussed before, Capto has its own thing and it redefines Mac’s snipping feature. It allows you to capture the entire screen, rectangle area, circle area or freeform area, menus, webpages, single app window, and more. Also, it features a robust editor in order to let you modify the final thing. For creating any screenshots, simply select Freehand and then go ahead, and draw the shape.
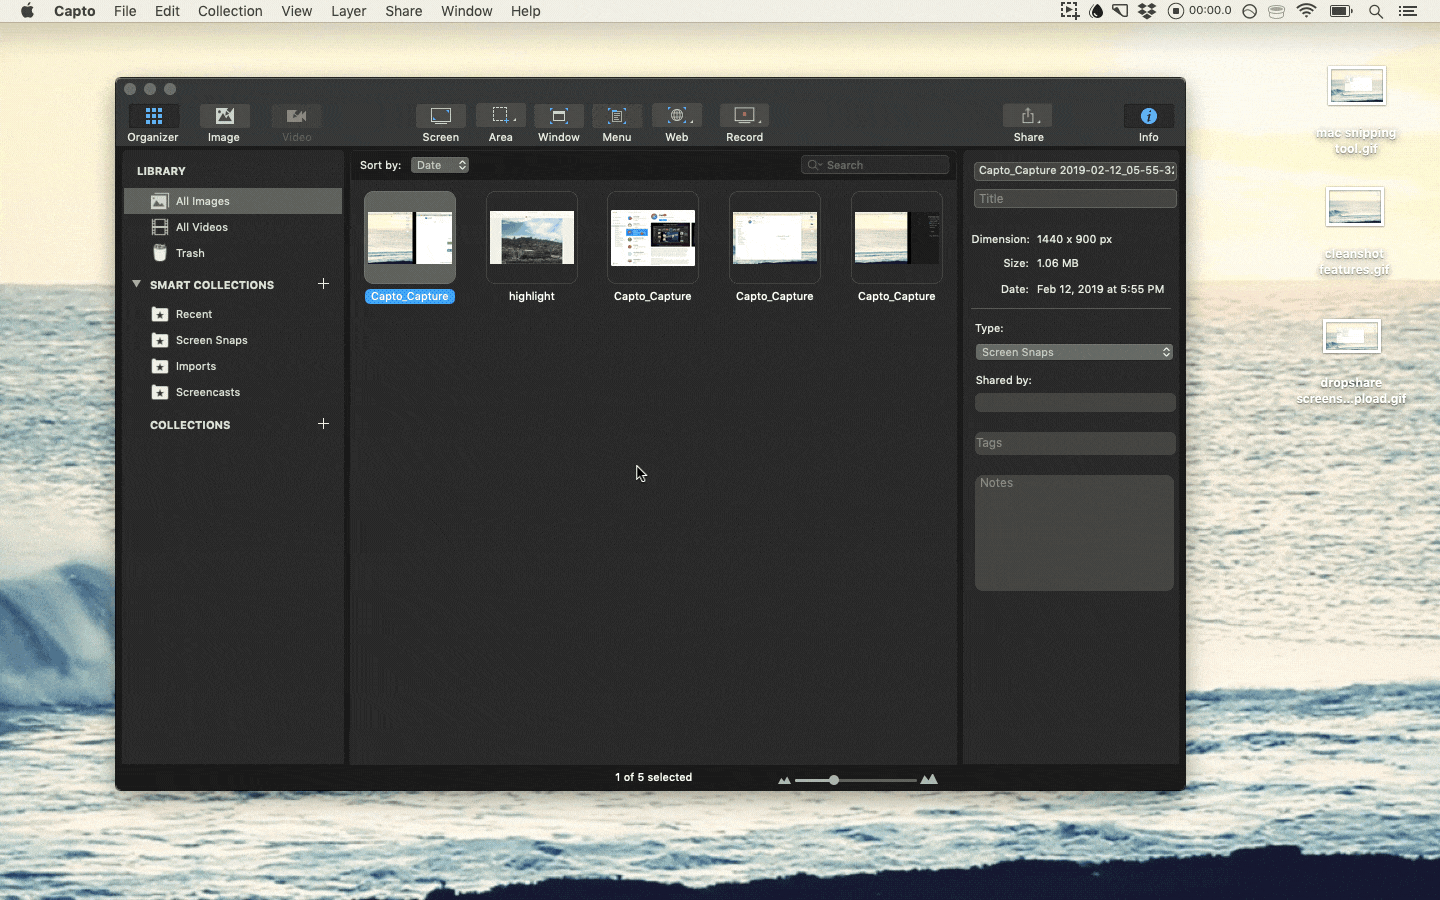
Additionally, the alternatives for right away taking consistent screenshots of long site pages are accessible under the Web tab, where you can utilize an implicit program in order to scan for the site or open the present URL.
This component totally dispenses with the requirement for the old-school method for taking screenshots as long as your presentation permits and after that by one way or sewing them all together by hand.
Does Mac come with a Snipping Tool for you?
Yes, your Mac comes with a wide variety of snipping tools in order to cover every possible requirement. And you’ve been wondering if “Mac comes with snipping tools or not” or “how you can use snipping tool for your Mac” or “which snipping tool should you choose.” You have to be using a specific snipping tool to correlate with your requirements.
It’s a great idea for disregarding the default snipping tool for Mac OS and utilizes CleanShot instead instantly, as it features better functions and gives a cleaner experience. But you may want to turn to Dropshare if communication is needed, which lets you stay in a super-productive along with a visual manner. Moreover, there is no screenshot functionality which is too complex for Capto and hence, you have all custom screenshot needs covered. You can also go for all these apps and download them, and further decide which is that you like for free since they are available via Setapp, which is a platform for more than 150 best-in-class Mac apps.
In order to screenshots with various apps from Setapp, it will help in bringing you amazing results of great quality in less time. Screenshot now!
10 Best Snipping Tools for Mac
Snipping tool is one of the most popular applications by Microsoft and in light of current circumstances. Taking Screenshots has never been simpler. Also, consider the possibility that you need to utilize the Snipping Tool on Mac. Peruse on to discover how to take screen captures simply like Snipping Tool in all respects effectively, alongside 10 distinct applications that you can utilize as Snipping Tool for Mac to help you.
Despite the fact that the exact Snipping Tool software isn’t accessible for Mac, much the same as Snipping Tool for Windows, Mac OS X presents clients with its own Screenshot Utility, ‘Snatch’. Alongside Grab, there are huge amounts of other Third-Party applications, each superior to the next, accessible that you can use to make the best out of Screenshots.
Here is a list of 10 of the best and very useful Snipping Tools for Mac:
1. Grab
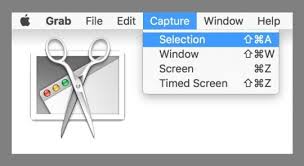
Grab is an official Screenshot Utility application you usually find in mac-OS 10.14 and greater versions. It supports a variety of modes for screen capturing, for example, capturing a particular selection, full window, whole screen, as well as timed screen. Grab is equipped with the mac-OS itself and it is very user-friendly too.
You can utilize keyboard shortcuts for Grab in order to take screenshots even faster and easier. Moreover, you can locate it in the “Utilities folder in Applications“.
2. Monosnap

Monosnap is one of the best when it comes to the third party screenshot apps for Mac. It supports the required and selected window, a particular portion of the Screen and modes for Full-Screen capture, etc. It also is equipped with annotation tools once you are done capturing your screen. You can go ahead and select the format for the picture file, and you may also send the capture to some different application where you can use it, like Adobe Photoshop.
Apart from the free cloud storage is has, there is also functionality in order to Capture a Video and to using the Front Facing camera of Mac along with the Screen Video specifically in the Monosnap app. You may also go for the Pro Version with additional features. So go ahead and have a look at it out on the App Store.
3. CloudApp
CloudApp is a Snipping Tool equivalent by Mac that can take pictures, webcam, video, and GIFs and it is claiming to do it up to 300% quicker. CloudApp is faster to access as it goes ahead the toolbar when you download so that at last you spare as much as a moment and a half on Screenshots. Annotations can be added to the picture.
You are also able to upload huge files of different types, share your video’s connection and apply for optional password protection in CloudApp. Something else that has stood out in this application is the way that in the gathering of pictures, you can locate the significant picture in a composed way by searching utilizing content, items or traits.
4. SnapNDrag
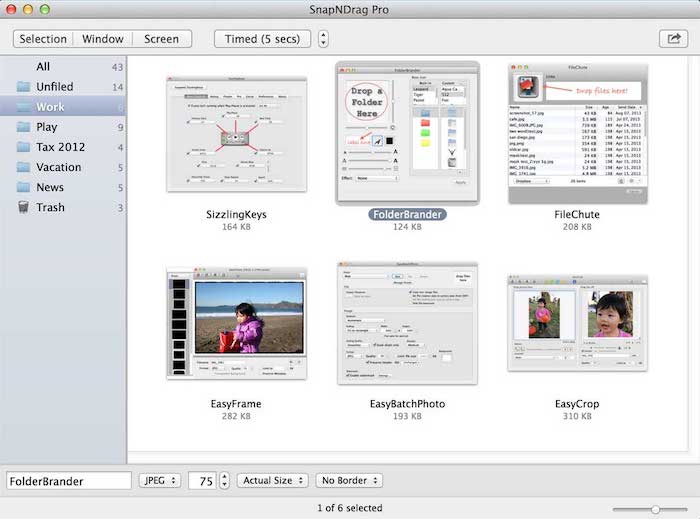
If you are able to spend a little extra than you otherwise would do for a Screenshot application, you may give SnapNDrag a chance as it can be really useful for you. It is priced at 10$ for the complete version, with additional costs if you require extra features. Also, in the case, if you purchase it, you will be able to get great features such as a convenient Library, which is where the Screenshots will get stored.
You will also be able to share the Capture in the Mail, Messages or on Twitter or Facebook, etc. Moreover, you can annotate the screenshot and have various types of output formats (PNG, JPEG or TFF). The Pro version is equipped with features such as Border and Scaling option, batch rename, keyboard shortcuts, and more.
The app’s highlight lies in the ease of its use, ever since SnapNDrag had begun as a little application. You may try the free version of it at first, and if you can, you will spend on the Pro version as per your needs.
5. Lightshot
Lightshot is not as extravagant as a part of the recently referenced screen captures applications, and probably won’t have a few highlights or features, yet it has come out to be unquestionably very useful, convenient and worthy of being a Snipping Tool option for your Mac.
It is fast, you are able to annotate very effectively with it, and basic customization is accessible for your Captures. The Screen Editor, when you catch the screen is truly better than average. In short, LightShot has done complete justice to its name: light application, quick along with very user-friendly.
In the case, if you are alright with easy basic software devoted to capturing Screenshots, you may prefer getting LightShot here.
6. Snagit
Snagit is a supportive as well as a very well-known and powerful Screen Grabber, for the most part, all features or the highlights that we have previously discussed, which includes sophisticated Image editing along with the Screen Recording. Also, it is counted as one of the most powerful software in this list of 10 tools.
One of the features of this product is its aesthetic interface which is imperative to a ton of clients. The product is utilized by Businessmen, Content Creators, and so forth. Utilizing it is advantageous to increase your reach, for whatever reason you screenshot your screen.
It encompasses more annotation and other features than you can think of or envision, permitting to tweak practically anything that you ask for or need. For Users that are keen on the full scope of highlights, you need to pay the sum of 50$, however, for the most powerful equivalent of Snipping Tool for Mac, the cost is certainly justified, despite all the trouble.
7. Jing
Jing, for Mac, is very useful Snipping software that you consider checking out. It very well may be depicted as somewhat with a lesser powerful Snagit, however, includes features such as instant sparing to video, History, and being discreet make it a good bit of programming from Techsmith to get for Mac. You can likewise share your screen once you take the Screenshot on the Jing application.
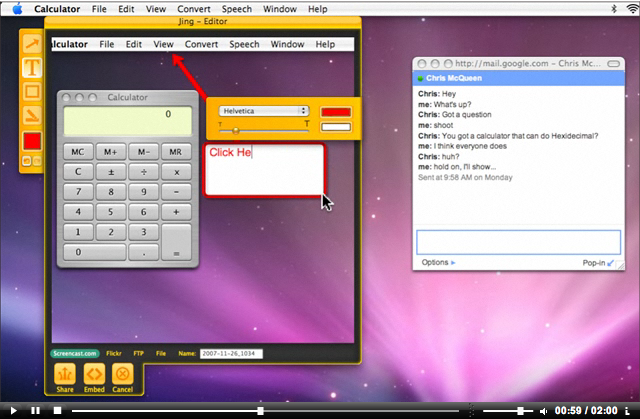
Note: However, it is prone to crashes and is considered weak when it comes to resizing your captured pictures. You can at present give it a shot to check whether it suits you here:
8. Snapz Pro X
Seemingly one of the oldest Screenshot applications to be utilized on Mac platforms, Snapz Pro X has been utilized by old just as new Mac clients. It is extremely powerful, and creating capture videos is particularly helpful in this application, consequently, it is utilized broadly to make content that requires a lot of screenshots such as tutorials and things like that.
You are able to edit the Screenshot that you take, and it can also be annotated with a wide scope of powerful customization. Isn’t it great? Well, it is. Apart from that, this bit of modern programming, but this comes at an incredibly advanced cost of just 69$. Moreover, in the case, if you have been utilizing past forms of this application and you feel good with it, it may be the best option for you.
9. Jshot
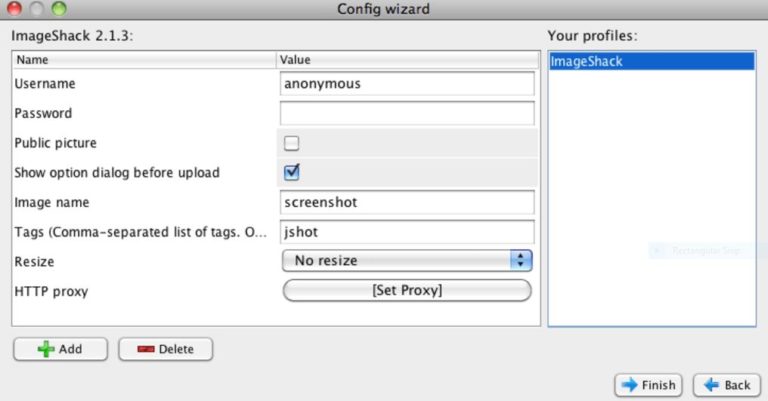
Jshot is quite a basic screen grabber software having a pretty decent use. It helps in taking screenshots quicker and makes it process faster as compared to many other competitors. It is equipped with annotation features and with functionality in order to share the Capture easily.
Also, it doesn’t claim to support custom images or any kind of shapes. Also, when it comes to the Mac version of it, it lacks a few features, so this may pretty much stand intact with your basic requirements just don’t expect something too fancy from it.
10. Skitch
It is equipped with annotation features. So anyone who is known to this software can help you with annotation as the selling point. Creating annotations on the captured picture is quite smooth, and apart from that, Skitch has also got a very good screenshot interface. Isn’t it cool? Well, no one can deny that, right?
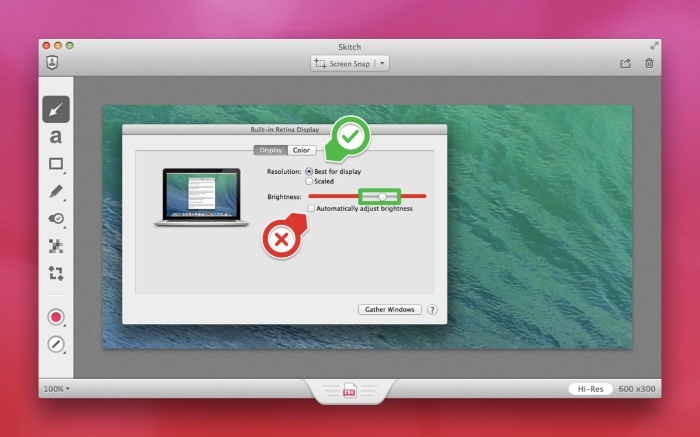
Apart from this, there are some customers that go as far as in order to utilize it only for these Annotation features. In the case, if you have been a user or you have been a content creator, for that annotation is very important and hence one has to opt for this definitely:
Basic Steps to Utilize Snip or Capture the Screen by Using any Tool
- At first, open the Mac Snipping Tool that you like to capture Screenshots.
- Now, Opt for the mode of Capture (Entire Screen, Free Form, Window, Rectangular, etc.).
- Where it is needed, select the part of the screen you have to capture utilizing the crosshair.
- Now, Click on Capture.
- Annotate the image now (if functionality exists), or you may also edit it using the tools in your Snipping Tool equivalent.
- Now, save the image with your desired Format.
All is now set! You have got the screenshot taken successfully with the use of your Macbook snipping Tool.
In the end, I hope you have successfully found out the best Snipping Tool for Mac depending upon your preferences as well as your requirements. Moreover, you may also have learned how to take a Screenshot on Mac with the use of any of these above applications.