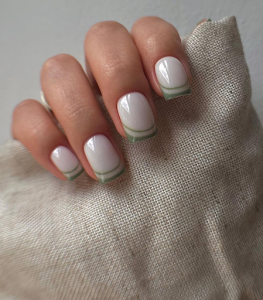
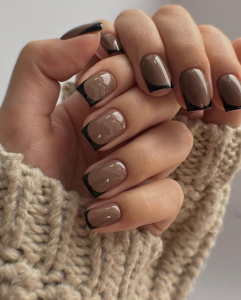
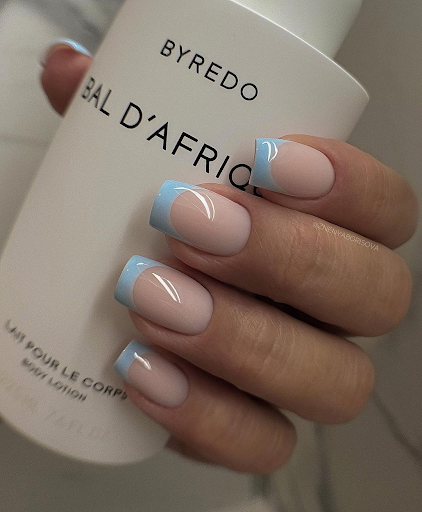
French nails are something that will never fall out of favor. French manicures are not only stylish but work for every occasion, from Girl’s Night Out to a weekend getaway to formal affairs.
This article shows you how to achieve a DIY French manicure at home. Our step-by-step tutorial provides useful information for styling your own French nails in the privacy of your own home.
Table of Contents
What Are Nails’ French Tips?
French nails, otherwise known as a French manicure, is a style in which the base of the nail is left natural or painted a pale shade of pink with white tips. This style has been around for decades and is always considered fashionable. It is appropriate for any occasion and quite simple to pull off alone.
Modern French manis have evolved a bit to add more colors and special effects. These include ombre fades, glitter, and other fun designs. Check out some stylish looks for French-style nails following the how-to guide below!

DIY French Nail Step-by-Step Guide
Supplies
- Acetone-free polish remover
- Clear or light pink base coat
- Cuticle oil
- Cuticle Stick
- French manicure strips (optional)
- Manicure clean-up pen
- Nail buffer
- Nail clippers
- Nail file
- White Nail Polish
- Top Coat
1: Start fresh with clean nails
Prior to starting, remove any remaining polish with acetone-free polish remover. Soak your nails in warm water with a mild soap before scrubbing any dirt with a soft-bristle brush.
2: Shape and trim your nails
First, trim your nails to the desired length. Next, use a nail file to achieve the desired shape.
H4: Pro Tip 1: Use the natural shape of your cuticles to achieve a natural look and keep it simple.
H4: Pro Tip 2:
To reshape your nails, we recommend a nail file with chunky grit, at least no lower than 180.
3. Buff your nail plate
Buff the surface of each of your nails gently with the roughest edge of the nail buffer. This smooths out any rough ridges while eliminating any discoloration. Keep buffing until the nail appears cloudy. Next, use the smoothest part to buff the nails, making them shiny.
Finally, use a damp towel to wipe away any remaining dust from the buffer. Wash and dry your hands thoroughly before moving to the next step.
4. Use cuticle oil to hydrate your cuticles
Our cuticles often become dry, which causes them to peel. Apply a small drop of cuticle oil to each nail base, gently massaging it into your cuticle. If there is no cuticle oil available, you can use jojoba oil, almond oil or even olive oil.

5. Trim or push cuticles back
Carefully clip any hangnails or loose skin. Gently trim each cuticle, using a cuticle sticky to push them back. Next, rinse your nails, removing any remaining cuticle oil as it may interfere with the French nails.
6. Apply the base coat to trimmed, clean nails.
Apply a base coat before moving on to the next step. However, if you use French manicure tape to paint your tips, the glue in the tape could damage the base coat. Allow your nails to dry completely.
7. Paint the tips of your nails
Carefully paint either a curved or straight strip using the white nail polish along the nail tip of each nail, following the shape of the tips. Next, remove as much color as possible using the nail polish brush. Then swipe the brush along each nail tip.
Pro Tip 1: Should any polish land on your skin, wait until it’s completely dry before carefully removing it with a Q-tip soaked with a non-acetone nail polish remover or a manicure clean-up pen.
Pro Tip 2: For French manicure strips, apply the strip just below the nail tip, then apply the polish. Remove the strip right after painting the nail. Allow drying completely before using the above steps to remove any stray polish.
8: Apply top coat to nails.
Finally, after your nails have dried completely, apply a very thin layer of quality top-coat nail polish. This seals the color, prevents chipping, and helps your nails last for days!
Take care not to get your hands wet or touch anything to prevent smudging your French nails.


