These days it’s easy to sell your iPhone. Websites like eBay make it a doddle to list, sell and ship your iPhone. However, there are a few things that you need to think about doing before you hand over your iPhone to someone else. There are a number of things that you are going to need to do that protect your privacy and your Apple ID.
There’s also an important step you’ll want to take into account because it could increase the value of your iPhone if you’re planning on selling it.
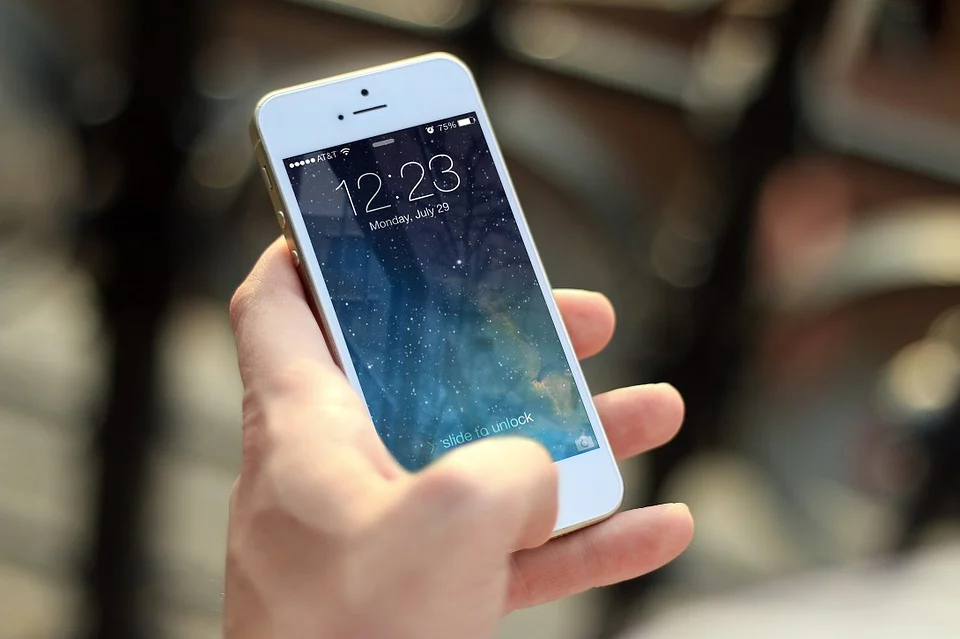
1. Back-up your iPhone’s data
The first thing you’re going to want to do is back-up your iPhone’s data. After all, you don’t want to sell your iPhone and realise that all your photos are still on it. You also don’t want to delete all your information on your iPhone before you back it up. That’s why it’s important to back it up. This way, all your data will be stored in iCloud (or iTunes) which means that you’ll be able to download all your personal data onto a new iPhone.
Here’s how to do it;
- Make sure you’re connected to your Wi-Fi
- Launch the Settings app
- Navigate to [your name] > iCloud -> iCloud Backup
- Tap on Back Up Now
You can also transfer all your data over to iTunes by using a cable and then transfer it to a new iPhone later on.
Here’s how to do it;
- Connect your iPhone to the computer that you normally sync it with.
- Open iTunes and select your iPhone under Devices in the left-hand navigation pane
- Right-click (or Control-click) the device and select Back Up
2. Sign out of iCloud and iTunes
Once you’re happy that you’ve successfully backed up your data you now need to sign out of iCloud and iTunes.
Here’s how to do it;
- If you’re using iOS 10.3 or later, tap Settings > [your name]. Scroll down and tap Sign Out. Enter your Apple ID password and tap Turn Off.
- If you’re using iOS 10.2 or earlier, tap Settings > iCloud > Sign Out. Tap Sign Out again, then tap Delete from My [device] and enter your Apple ID password. Then go to Settings > iTunes & App Store > Apple ID > Sign Out.
3. Delete your data and settings
When you’ve signed out of iCloud and iTunes, you’ll need to perform a hard erase of all your personal data. Again, make sure you’ve performed the steps to back up your phone first.
Once you have erased your personal data from your iPhone, it’ll be back to its factory default settings, ready for someone else to begin using it as if it was brand new.
Here’s how to erase all of your personal data from your iPhone;
- Launch Settings app
- Tap on General
- Scroll down to the bottom and tap on Reset
- Tap on Erase All Content and Settings option
- If you’ve set a passcode or Restrictions passcode, it will prompt you to enter the passcode.
- After entering the passcode, it will prompt you one last time if you want to delete data and settings from your iPhone.
- Tap on the ‘Erase iPhone’ button
This process will take a few minutes or a few hours depending on how much storage you have used. It is advisable to put your iPhone on charge whilst your data and settings are being removed.
4. Unpair your Apple Watch
This may seem obvious but it’s worth noting. If your Apple Watch is paired with your iPhone, make sure you unpair it before you sell your iPhone.
5. Deactivate iMessage on your iPhone
Something else that you may not be aware of is that even after you’ve removed your account from your iPhone, messages can still end up going to iMessage which is not ideal once you’ve sold your iPhone to someone. To deactivate iMessage on your iPhone, simply navigate to Settings > Messages > toggle iMessage off.
6. Unlock your iPhone
If your iPhone’s activation lock is engaged then you’re going to need to unlock it so someone else can use it. The activation lock is helpful because it stops thieves from being able to set up their accounts on your phone. However, it can be annoying when you’re trying to remove your account so someone else can set up theirs.
Luckily, there’s a very straightforward way to do this by using third-party services like iPhoneIMEI.net. The first thing you’ll need to do is to check what your IMEI number is. If you’re not sure just go here and follow the simple steps. You’ll be able to find out what your IMEI number is as well as being able to unlock your iPhone.