Have you ever been frustrated by the idea of using an ultrasonic thickness gauge? Maybe it’s because you missed a crucial step in the operation of the ultrasound thickness gauge. Or maybe it’s that you’ve switched from another method of thickness measurement to the ultrasound gauge method. Whatever the reason, the ultrasound gauge has become the go-to method for many technicians, especially when it comes to corrosion & erosion assessment. That’s why it’s important for inspectors and technicians to understand how the ultrasound gauge works and how to use it correctly. In this post, we’re going to cover everything you need to know about using the ultrasound gauge effectively. Let’s get started!
How does it work?
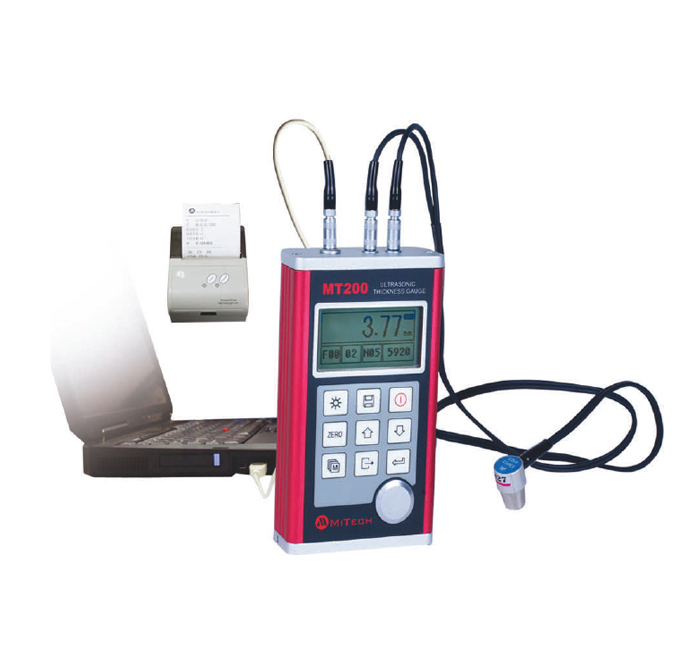
The purpose of an ultrasound thickness gauge is to measure the time it takes for a sound vibration to travel through an ultrasonic test sample and provide feedback on the interior of the test sample. The sound wave is commonly used to measure defects, but the inspection can also provide information on the thickness of the object being inspected and other details. The result of the inspection is shown on a computer monitor.
This device is compact and allows for on-site inspections and can be re-inspected if a defect is found. The promptness of the results of the tested materials also makes it an invaluable tool.
How to use it correctly?
There are a number of parameters that must be met in order to effectively use the ultrasound thickness gauge. Some of these parameters are listed below.
Select the right transducer
There are still other factors to consider when choosing the correct transducer to use for testing, such as the material type to be tested, environmental constraints, the material temperature, and other technical parameters around the test object, such as the homogeneity of the surface or the presence of a bend.
Select the right couplant:
A couplant is a liquid that ensures that the test instrument (the transducer) is not separated from the test material (the object being measured). A small amount of couplers must be applied to the surface before accurate calculations can be made. If a sufficient seal is not verified, the results will be irregular.
Make right calibrations:
This is essential for piping or tubing testing because the diameter determines the type of testing method to be used. For instance, the testing may need to be done perpendicular or parallel. For larger diameter pipes (10 cm or more), the measurement should be done perpendicular to the long axis of the pipe. For smaller diameter pipes, it would be better to take one perpendicular measurement and one additional parallel measurement. However, the lower the measurement, the better the recorded measurement.
Prepare the surface:
When the test material has an uneven or rough surface, the accuracy of the results decreases. Therefore, use a sander, grinder or wire brush to remove scale, rust or other debris on the test material.
Keep temperature fluctuations under observation:
Since sound waves travel more slowly on hot material, it is recommended to use suitable transducers for these temperatures for accurate results and to prevent expansion on the surface of the test object. It should only be left on the surface for the time needed for the test.