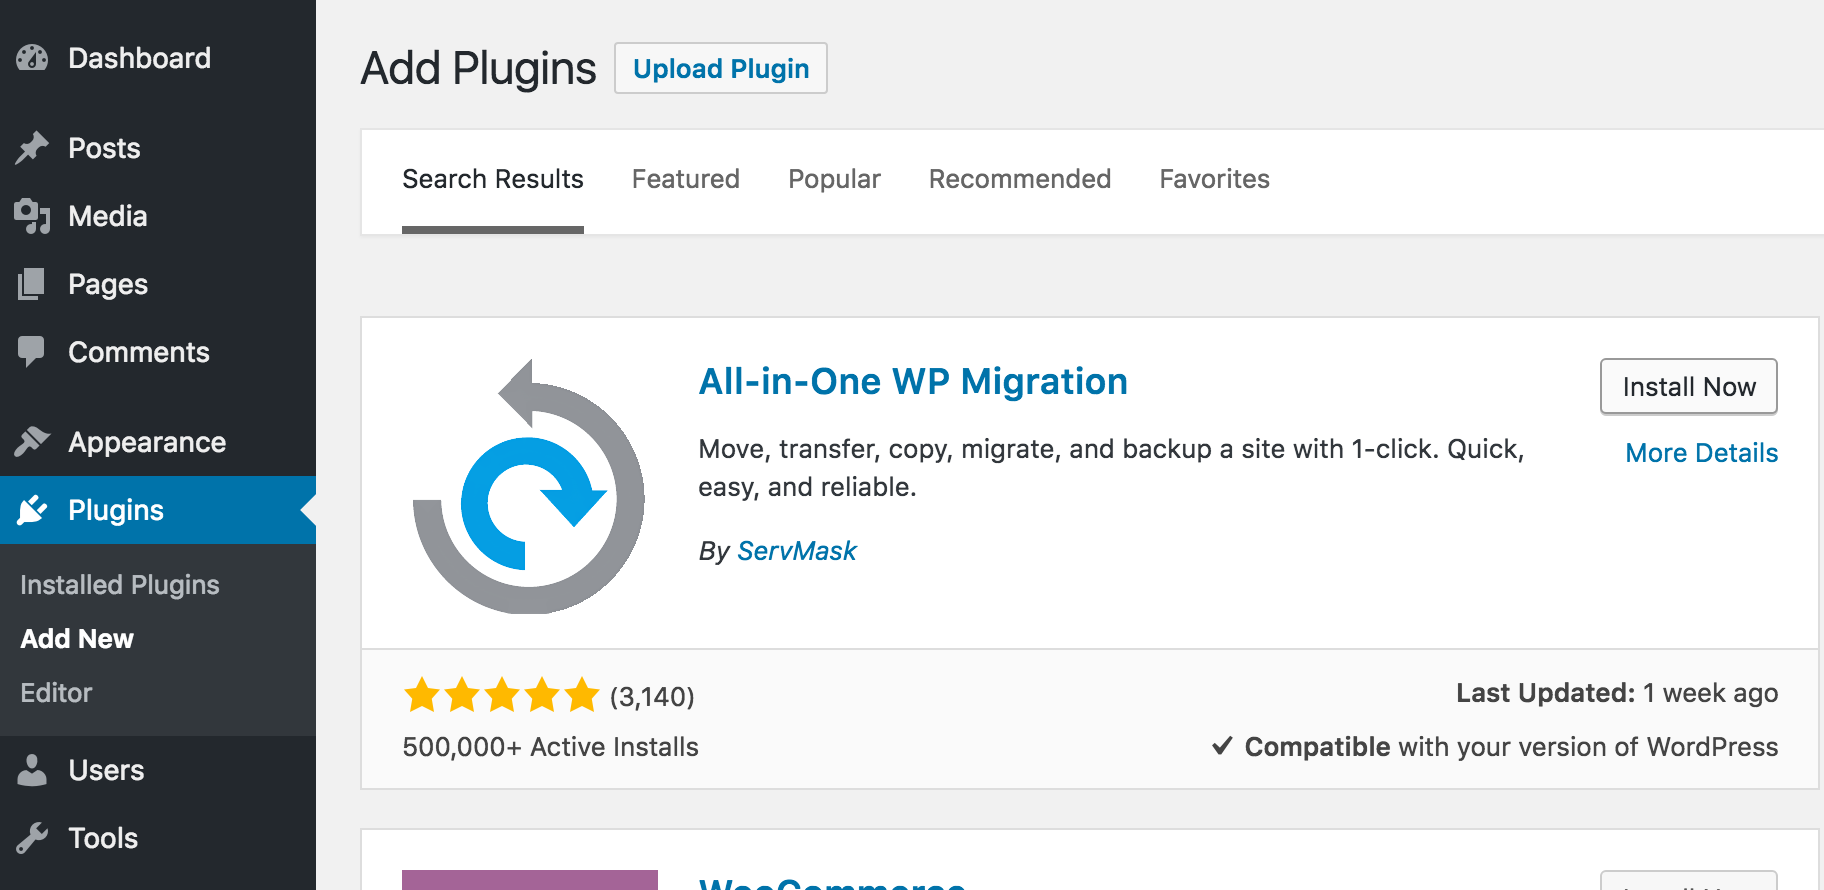
All-in-One WP Migration plugin exports your current WordPress website into a backup. An archive file with the .wpress extension, which you can import in any WordPress site. The plugin is a convenient solution for keeping regular backups of your website(s) for many different purposes or just transferring a website from one domain to another. All in One WP Migration appears in the WordPress dashboard left panel when successfully installed and in the plugins list.
This article will discuss All in One WP Migration Backups Page, export using All-in-One WP Migration tool, import using All-in-One WP Migration tool. Moreover, we’ll learn Reporting Issues, and All in One WP Migration Video Tutorials.
All-in-One WP Migration Backups Page
Backups page shows the content of ‘ai1wm-backups’ folder in ‘/wordpress/wp-content/ai1wm-backups’. In addition, the All-in-One WP Migration tool automatically creates the folder after you install it. If the plugin does not have sufficient permissions to create it. It will output a message on the screen stating that All in One WP Migration cannot create [your-path-to-wordpress/wordpress/wp-content/ai1wm-backups] folder. You will need to create this folder and grant it read/write/execute permissions (0777) for the All in One WP Migration plugin to function properly. To clarify, that means you will need to create the folder manually and provide (0777) permissions for it by yourself.
Backups are listed sorted by the time of their creation in descending order – your latest backup will be at the top of the list. Names are generated using the logic “[your-wordpress-site-name]-YearMonthDate-HourMinuteSecond” at the moment of the backup creation. initialize creating a backup and keeping it inside this folder while choosing option ‘File’ from the Export menu.
For each of the files on the Backups page, you have three available options: Download, Restore, and Delete. Option ‘Download’ lets you download selected backup to your computer. If you use localhost, you can find the file in your directory dedicated to downloads. Option ‘Restore’ will start the process of importing the selected backup into your current WordPress site. And option ‘Delete’ will delete the backup chosen from the ‘ai1wm-backups’ folder. On the bottom of the backups list, you will see a button, ‘Create Backup’ It is used for quick access to export functionality and will redirect you to the Export page. The process is described in Step 2 of the present guide.

Export Using All in One WP Migration
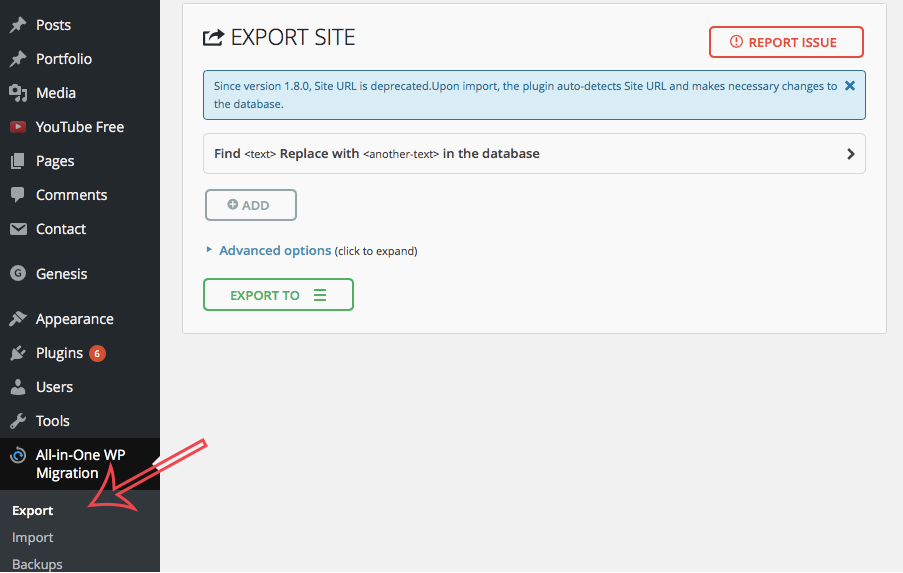
To use export functionality and export settings, go to the Export page from the all-in-One WP Migration dropdown menu. On the Export page, you can start the export. There are some additional settings available for you on this page that you can use before starting the export process. Find a text Replace with another-text in the database.
This option finds a text in the website’s database and replaces it with another in all places for as many pairs – find/replace, as you add. Regular website migration does not suggest using this option because it will rename the site’s elements to the URL you import to. That is an advanced feature that you should use with care if you understand the WordPress database’s construct. Please bear in mind that this change can affect your user access details to the site – be careful what you replace.
You need to pay attention to something that should not impact the migration. Do not export spam comments, Do not export post revisions, Do not export inactive themes. Also, Do not export inactive plugins, and Do not export Cache.
Some parts can lead towards and inappropriate migration. Do not export media library, Do not export themes, Do not export must-use plugins. And, Do not export plugins, Do not export the database, Do not replace the email domain.
The Export Process
Once you have selected the Export from the above options. You can choose to create an archive using the dropdown menu option. Use all options available from the dropdown menu, except ‘File,’ to combine the All in One WP Migration plugin with a corresponding extension installed. If you chose option ‘File,’ the plugin would create a backup of your website inside the ‘ai1wm-backups’ folder: ‘/wordpress/wp-content/ai1wm-backups’. The plugin uses this folder to store all backups created with the ‘File’ option. Its contents are available on the ‘Backups’ page. Backups names are generated using the logic “[your-wordpress-site-name]-YearMonthDate-HourMinuteSecond” at the moment of their creation.
Next, choose one of the Export dropdown menu options that start the export process, and you will see this window. The amount of time the export process depends on the size of your website data. And after you have created your export successfully. Then, uploaded to your server, you must see this message on your display. In conclusion, the export has finished, and the backups are available inside your Backup folder. From this window, you can also download the backup to your local computer using the Download button.
Import Process
You should use all options available from the dropdown menu. Except ‘File’ with a combination of the All in One WP Migration plugin with a corresponding extension installed. If you chose ‘File,’ the plugin will open a window showing your local files and folders. It will let you choose a backup for importing from there. Therefore, this option is very convenient if you have a backup that is not in Backups. And you need it imported optimally.
The import has an additional step that warns you that your website will be overwritten by the new backup. Including database, media, plugins, and themes. That is the last step from which you can cancel the process. Now, after pressing ‘Proceed,’ you cannot stop the import process anymore. Thus, the amount of time the import process depends on the size of your website data.
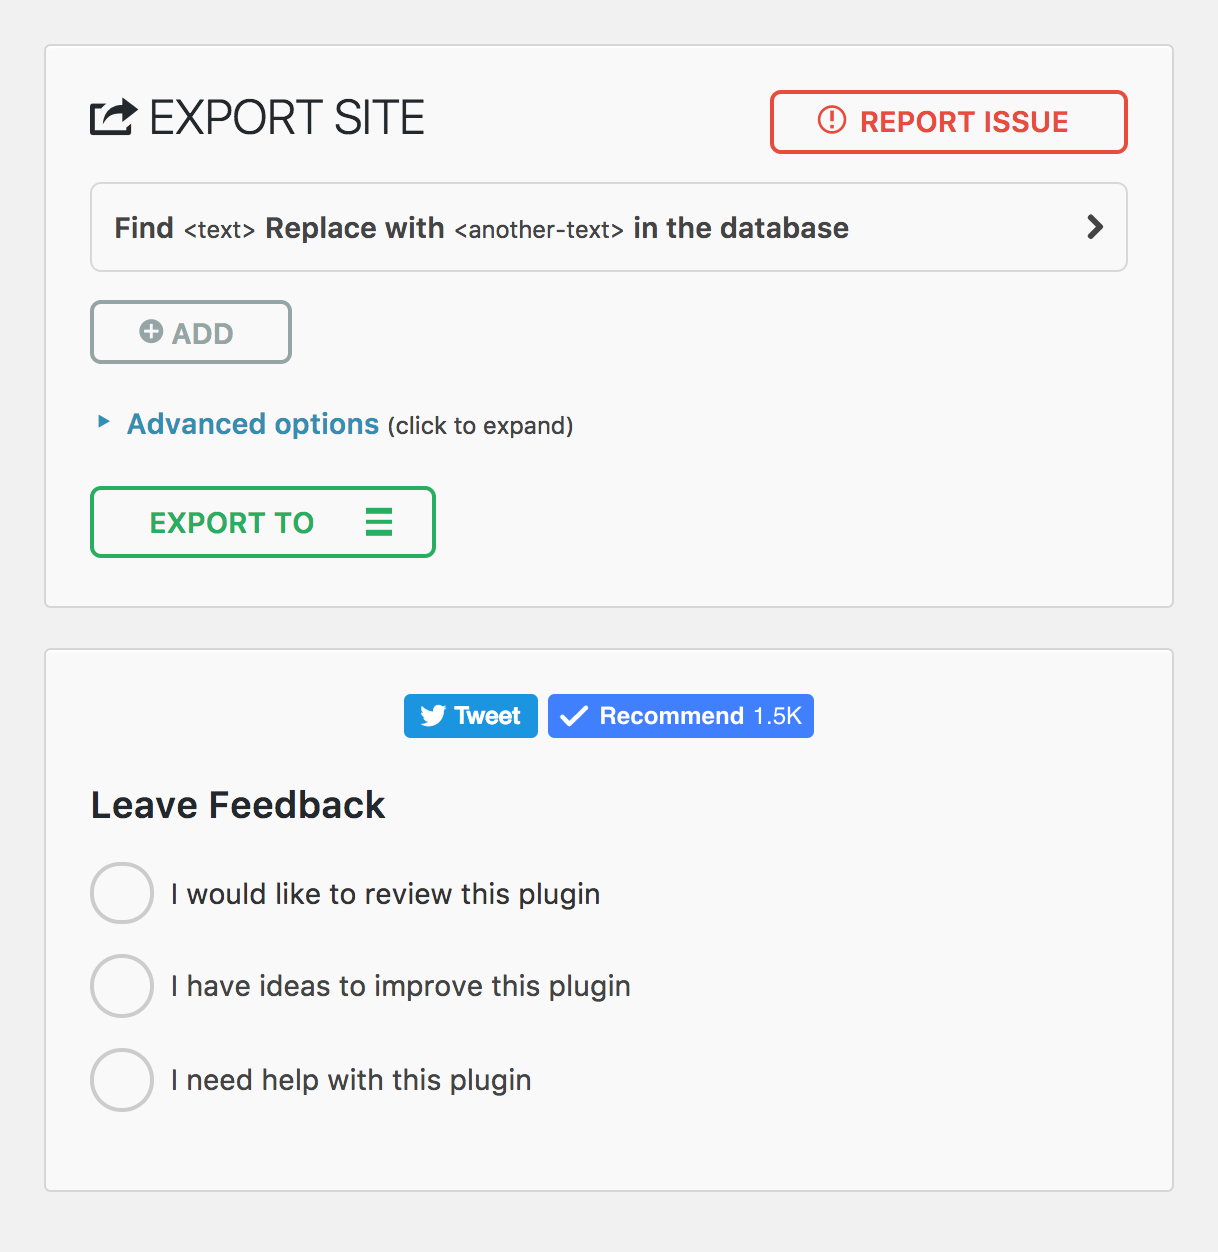
Reporting Issues
You can find a button for reporting issues in the right upper corner on all All in One WP Migration application pages. Therefore, this button opens a window where you can report any type of problem you encounter while using the All-in-One WP Migration product or any of its extensions.