Table of Contents
Intro
Imagine you’re a Trainer online where you need to show students how things are going on. You need to show them the process you are following to get the job done. You can write to them on how they can do it, or you can send them a screenshot of your screen. But the best way to show what you are doing and make everybody understand anything with ease comfort is to Video record your screen and share with others.
Or maybe you’re a game streamer on Youtube, Twitch or any other platform. You need to record your computer’s screen while gaming. Maybe you need to record the voice-over for the next presentation for the new product! If you didn’t ever record your computer screen and need to do it now, this article will help you know everything you need to know about screen recording and how to do it.
Get the best screen recorder app
If you want to record your screen on a professional level and want it to be very high quality, you have to get a good screen recorder app with which you will be able to record every step of your work and don’t miss a second. While recording, many software offers many types of amenities such as cursor color, mouse movement, typing guide, Keyboard highlight and so on.
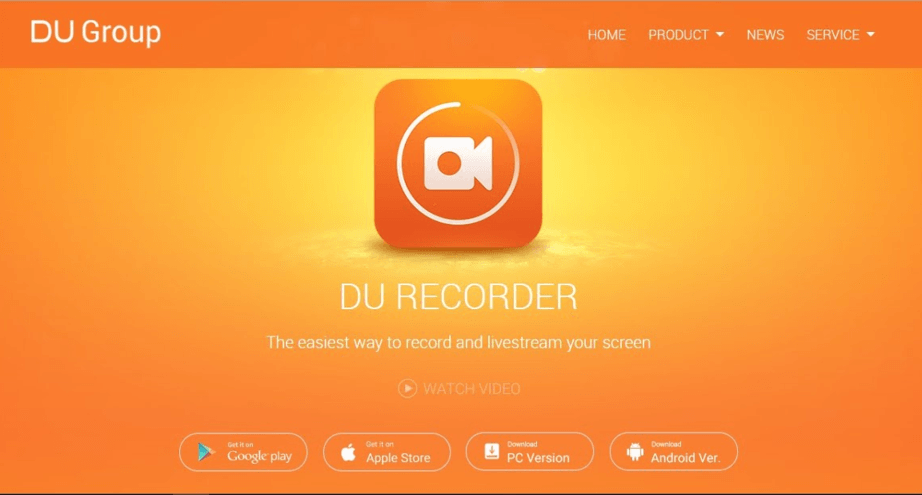
There are tons of Screen recorders you can find online. I personally use Du Recorder and find it useful in many ways. If you want to use it too, Get Du Recorder App latest version to install on PC. the latest version of any Software has the most features and tools. So, make sure you are getting the latest version.
Know how to use it
No matter what screen recorder you use to record your computer screen, it’s important to know how to use it in order to get the most out of it. To know how to use it, open up the software and go to the help section, you should find a very specific guideline on how to get started with recording the screen and how you can do it more efficiently.
Know the extra features and tools
Some screen recorders will allow you to do more than just recording the screen. Besides exploring the software inside out, go online and do some research to learn more about it, See how others are using it for their professional purpose. Use all the features and tools while recording and use them to produce a high-quality video.
On-screen features and after record
Most of the screen recorders will allow you to make some adjustments and customization to your recording area of the screen. First of all, you can trace the area of the screen you want to record with the software. Some don’t want any excess part of the screen like the taskbar to get into the video. Or maybe you just want to record a specific part out of the whole screen! Either way, you can trace the recording area before hitting the “Start recording” button.
Then you can have some features on or off from the software settings, such as cursor highlighter, this will highlight your cursor with customizable color so that the audience can keep track of your cursor and see what you are doing on the screen. There are more! With some recorders, you can set up a keyboard mapping whereas if you type something, that keys will pop up on the screen so that the audience can understand what key you’ve just pressed.
Post-processing and rendering
Once you’re done recording the screen, do some post-processing like color grading, audio tweaking and if any other thing your recorder may offer you to do, then it’s time to save the video to your hard disk. Choose to save as or export, select the desired quality or video format you want. Try to save your recordings as high-quality videos. that will make the audience understand the little letters on your screen and understand what you’re doing while within a very tiny place on the screen.
How to record with what you already have
As I’ve mentioned before, there are tons of third-party software to record your screen. But you don’t always have to get a third-party app to do the job.
You can also record your computer screen with Microsoft powerpoint. To do that, go to the insert tab of MS PowerPoint and select the Screen Recording function. Then you have to click the “Select Area” option in order to specify the area you want to record. Press Win+Shift+F to select the whole screen. After specifying the recording are, press Win+Shift+R or click the record button to start recording. While recording, you can pause and resume the record. Select the stop button to stop recording.
Bottom line
There are plenty of software and ways to record your computer screen and share it with others, Such as the Youtube streaming option. to do that, go to youtube, sign in to your account as a creator, Go to Youtube studio, Choose Live events under the other option. Choose quick or custom as the type of video. Click on Go live now and select the green Screen Share button you can see in the top left corner.


