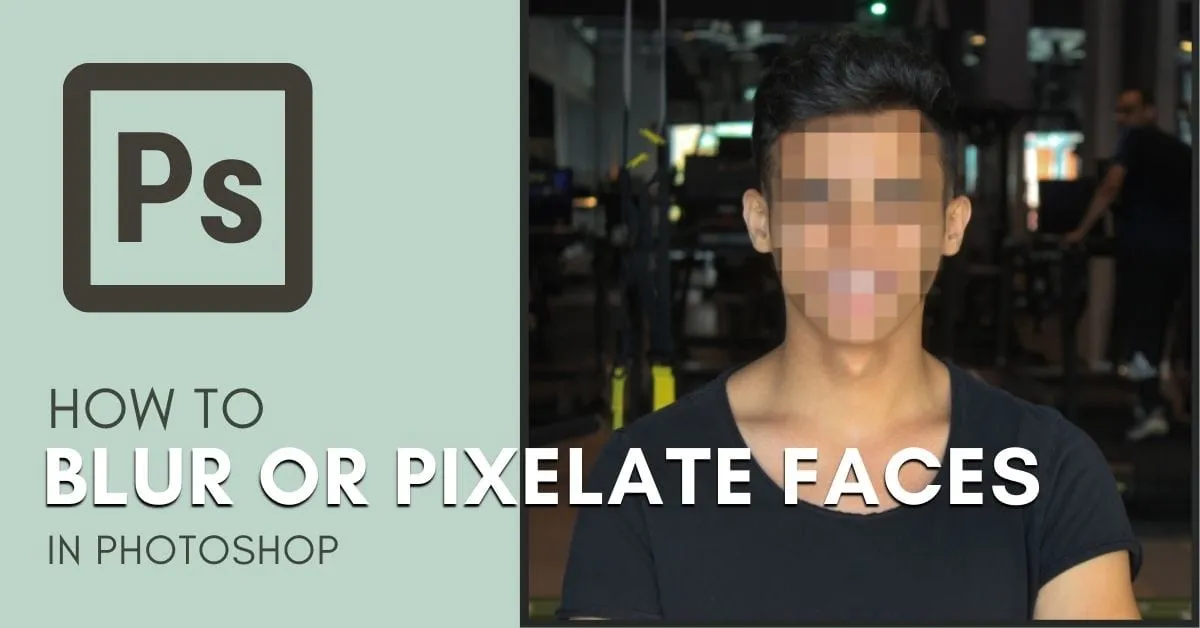
In today’s digital age, protecting privacy has become more important than ever. Whether you want to anonymize individuals in your photos or add a touch of mystery to your images, blurring faces is an effective technique. With the advancements in technology, learning how to blur faces in photos has become easier than ever before. In this step-by-step guide, we will explore different methods and tools to help you achieve professional-looking results.
Table of Contents
Step 1: Choose the Right Tool
Before you start blurring faces, it’s essential to choose the right tool for the job. There are various online tools and software available that offer blur face features. Some popular options include Adobe Photoshop, GIMP, and online tools like Watermarkly, Pixelied, and Facepixelizer. Choose a tool that suits your needs and is user-friendly.
Step 2: Open Your Photo
Once you have chosen the tool you want to use, open the photo you want to edit. Import the image into the software or upload it to the online tool. Make sure to choose a high-resolution image for better results.
Step 3: Select the Face Blur Tool
Next, find the face blur tool in the software or online tool you are using. In most cases, you will find it under the “Effects” or “Filter” menu. Click on the face blur tool to activate it.
Step 4: Identify the Faces
Now it’s time to identify the faces you want to blur in the photo. Most face blur tools have an automatic face detection feature that can identify faces in the image. If the automatic detection is not accurate, you can manually select the faces by drawing a selection box around them.
Step 5: Adjust the Blur Intensity
Once the faces are selected, you can adjust the intensity of the blur. Some tools allow you to control the level of blurring by using a slider or entering numerical values. Experiment with different intensities to achieve the desired effect. Remember, too much blur can make the photo look unnatural, so find the right balance.
Step 6: Refine the Edges
To make the face blur look more natural, it’s important to refine the edges. Most tools offer options to feather or soften the edges of the blur. This helps blend the blurred area with the surrounding pixels and creates a seamless transition.
Step 7: Preview and Fine-tune
After applying the blur effect, take a moment to preview the final result. Zoom in to check if any areas need further adjustment. Look for any artifacts or inconsistencies and make any necessary refinements. Pay attention to details to ensure a professional-looking outcome.
Step 8: Save or Export Your Blurred Photo
Once you are satisfied with the blurring effect, it’s time to save or export your photo. Choose a file format that retains high quality, such as JPEG or PNG. Consider creating a copy of the original photo and saving it separately to preserve the unedited version.
Tips for Blurring Faces in Photos
Respect Privacy: Always ask for permission before sharing or publishing photos with blurred faces. Respecting people’s privacy is important, even in digital spaces.
Consider Context: Think about the purpose of the photo and the message you want to convey. Sometimes, blurring faces may not be necessary if other forms of anonymity, such as cropping or strategic framing, can achieve the same goal.
Experiment with Different Tools: Don’t be afraid to try different software or online tools to find the one that works best for you. Each tool may offer unique features and options that suit your editing style.
Practice Makes Perfect: Like any skill, blurring faces in photos requires practice. Take the time to experiment with different techniques and settings to improve your proficiency.
Be Mindful of Other Identifying Elements: Faces are not the only identifying elements in a photo. Pay attention to other distinguishing features such as tattoos, birthmarks, or unique clothing items. Consider blurring or editing these elements if necessary.
Conclusion
Blurring faces in photos is a powerful technique that allows you to protect privacy, add mystery, or convey a certain aesthetic. By following this step-by-step guide, you can learn how to blur faces effortlessly. Remember to choose the right tool, identify the faces, adjust the blur intensity, refine the edges, and preview the final result before saving or exporting your photo. With practice, you’ll be able to achieve professional-looking results and respect privacy while creating visually captivating images.


