
If you thought you could save some money on buying a Mac with less storage, and now you regret that decision because you ran out of free space, you don’t need to worry about buying a new computer or expensive external hard drives.
First, it is recommended to download a disk space analyzer which allows you to know what’s taking up the most space. When choosing which Mac disk space analyzer and Mac storage manager is the best, you can see these reviews. And then you can start increasing your Mac storage in 5 ways to Increase Mac Storage: by cleaning Mac’s hard drive, upgrading SSD, storing data in iCloud, adding storage with SD and MicroSD or using network storage.
Clean your Mac’s hard drive
Probably you have filled your Mac with files and applications that are no longer in use and you just don’t need them. The easiest way to create more space is to clean up the junk data and unnecessary files on your Mac. A very practical tip is to set a reminder to review your Applications folder and clean out the ones you don’t use anymore. Don’t forget that simply dragging an app into trash doesn’t delete all of its related files.
CleanMyMac App Uninstaller doesn’t leave anything behind, which means more available space on your Mac. When you command to delete an app, CleanMyMac X finds every related document and file and detects it to delete. You can schedule a CleanMyMac app to clean your disk how often you want.
Upgrade Your SSD
One of the best ways to increase your MacBook’s storage is to upgrade its SSD. Unfortunately, it is not possible to upgrade all MacBooks, but you can upgrade these ones:
MacBook Pro non-Retina up to late 2016, MacBook Pro Retina up to 2015, MacBook Air up to 2017, MacBook up to 2010. If your model supports SSD upgrade, the easiest way is to purchase a kit. Other World Computing sells Mac SSD upgrades as a drive only, or as a kit. Choosing the kit, gives you the SSD upgrade, required tools, and an enclosure into which you can place your old drive to transfer data.
Store Data on the iCloud
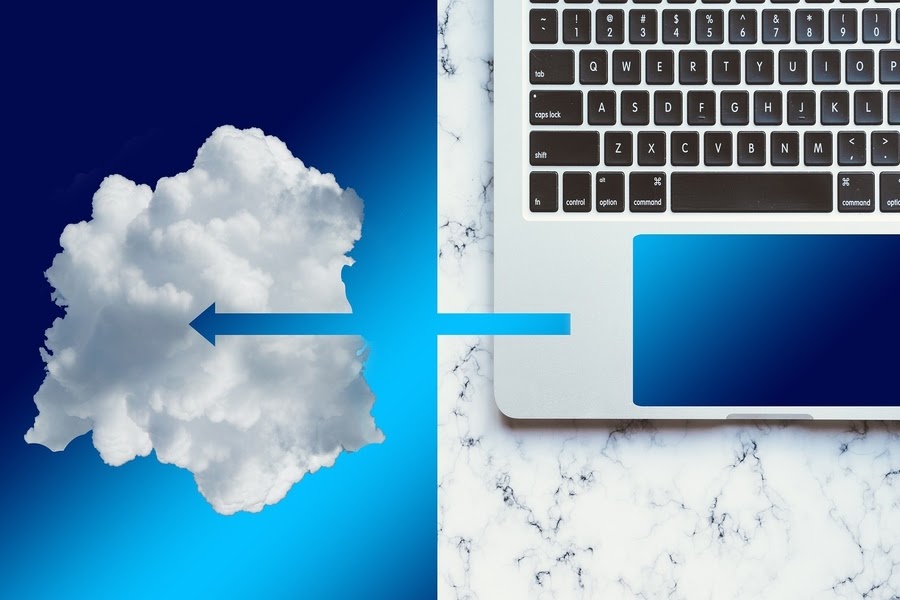
Online iCloud storage is available for all MacOS users. Apple’s “Store in iCloud” setting uses available iCloud space to store the apps and files from your Mac. Files stored in the cloud are shown on your computer as if they are there anyway. The computer downloads those files from iCloud and you can access them.
How fast it happens, depends on your internet connection speed and the size of a file. If you want to enable this setting, click the Apple logo in the top-left corner of the screen and select About This Mac. Then click the ‘Storage’ tab and ‘Manage…’ on the right side. At last, click the ‘Store in iCloud’. If you don’t want to think about running out of space again, you will probably have to purchase more space in the iCloud, because only 5 GB are free.
Add storage with SD and MicroSD
Having an older MacBook with a memory card reader, allows you to use SD or MicroSD cards to boost your Mac’s storage. You just have to choose an SD card and slot it into your Mac. If you want to use MicroSD cards, you also need an SD-to-MicroSD converter.
This is one of the cheapest ways to add a lot of additional space. You can buy a 512 GB SanDisk Extreme UHS-I MicroSD card for under $200 or the 128 GB card is only about $25.
Network storage

Besides adding storage to your MacBook directly, you can leverage some of the storage you already have in your home. This is a quite cheap way of adding storage because you don’t have to buy anything to use it. There are some disadvantages to this approach that basically depend on your network setup.
A wired network provides the most reliable speed, though this caps out at 10Gb/sec from Cat 6 cable on the fastest network equipment possible to buy. You are only able to use network storage and its data when connected to the same network. Though, network-attached storage is a great option for people who barely leave their home or work network.
One more option is to configure a NAS drive to be shared across the network, to use another Mac that has free space. After configuring it, you can back up your MacBook via Time Machine to a network location. Remember, that the speed of your network limits your network storage. Things get much slower when a wireless connection is used. You have to be sure your network drive (or shared computer) uses a wired connection to your router and to your MacBook (if possible) for the best results.