As an iPhone user, you probably take a lot of photos with your device. However, if you don’t organize your photos properly, it can be difficult to find the pictures you want when you need them.
In this article, we’ll provide you with five tips for organizing your photos on your iPhone so you can easily access your pictures and memories.
5 Tips to Organize Photos on iPhone
1. Use Albums to Organize Your Photos
One of the most effective ways to organize your photos on your iPhone is to use albums. You can create albums for different events, trips, or categories such as family, pets, or work.
Here are the steps to create an album:
- Open the Photos app.
- Tap on the “Albums” tab.
- Select “New Album”.
- Give your album a name.
- Start adding photos to the album.
You can add photos from your camera roll, iCloud, or any other album on your device.
2. Delete Unwanted Photos Regularly
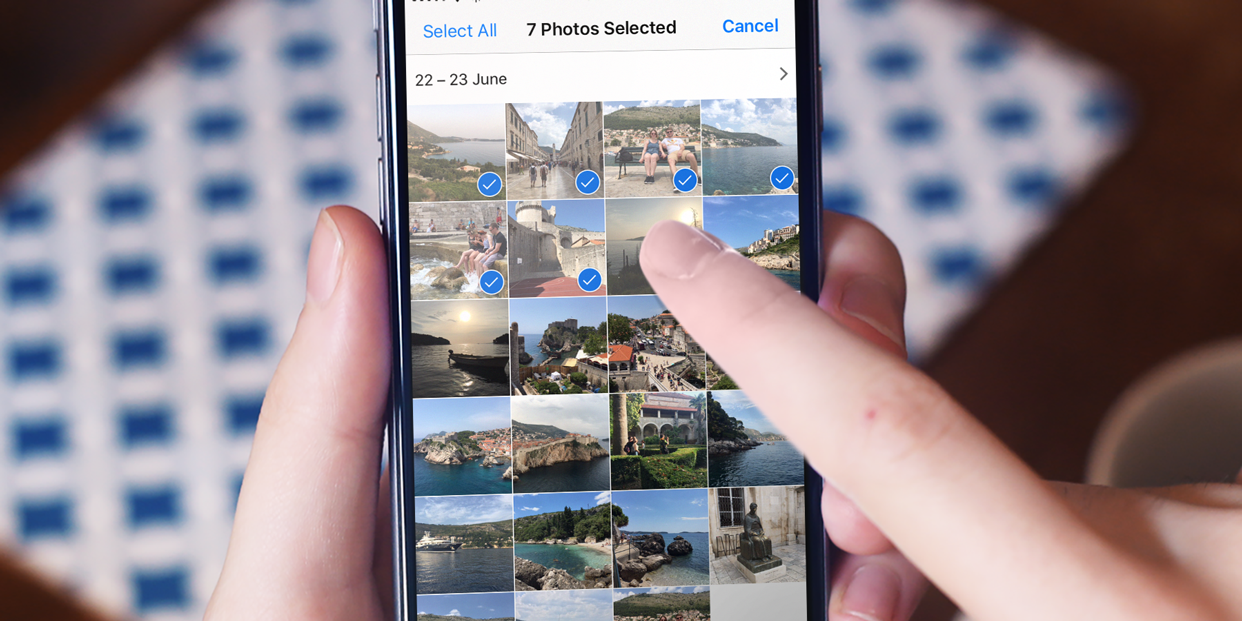
It’s easy to accumulate a lot of unwanted photos on your iPhone over time, such as blurry or duplicate pictures. To free up space and keep your photo library organized, make it a habit to delete unwanted photos regularly. You can follow this guide on – How to select all photos on iPhone to bulk select and delete them at once.
Here’s how to delete unwanted photos:
- Open the Photos app.
- Select the photos you want to delete.
- Tap the trash icon.
- Confirm that you want to delete the photos.
You can select multiple photos at once and delete them in bulk, or use the “Recently Deleted” folder to permanently delete photos you don’t need.
3. Use the Search Function to Find Specific Photos
Another great feature of the Photos app is the search function. You can use this to find specific photos quickly, even if you have thousands of pictures on your device.
Here’s how to use the search function:
- Tap on the search bar at the top of the Photos app.
- Type in a keyword.
- The app will search through your photos and display any pictures that match your search query.
4. Back Up Your Photos to iCloud or Another Cloud Service
Backing up your photos is crucial to ensure that you don’t lose your pictures if your device gets lost or damaged. Apple provides 5GB of free iCloud storage, which you can use to back up your photos and other data.
Here’s how to enable iCloud backup:
- Go to Settings.
- Tap on your name.
- Tap on “iCloud”.
- Tap on “Photos”.
- Turn on the “iCloud Photos” option.
You can also use other cloud services such as Google Photos or Dropbox to back up your photos.
5. Use Third-Party Photo Management Apps
If you have a lot of photos and want more advanced photo management features, you can use third-party apps such as Google Photos, Adobe Lightroom, or Mylio. These apps offer features such as automatic backup, advanced photo editing tools, and better organization options.
Here are some of the benefits of using third-party photo management apps:
- Automatic backup.
- Advanced photo editing tools.
- Better organization options.
Some of these apps are free, while others require a subscription or one-time payment.
Conclusion
By following these five tips, you can organize your photos on your iPhone more effectively and save time searching for specific pictures. You can follow cult.technology for more insightful guides on iPhone tips. Whether you prefer to use the built-in Photos app or a third-party photo management app, taking the time to organize your photos is worth the effort.